Control the page layout
Warning
Many of the features on this page are experimental, and may change.
There are a few ways to control the layout of a page with Jupyter Book. Many of these ideas take inspiration from the Edward Tufte layout CSS guide.
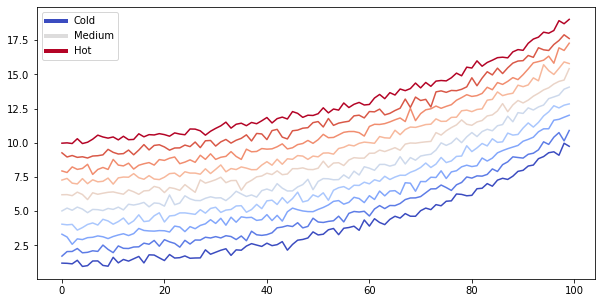
Let’s begin with a sample plot. You can click the toggle button to the right to see the code that generated it.
def make_fig(figsize):
    from matplotlib import rcParams, cycler
    import matplotlib.pyplot as plt
    import numpy as np
    plt.ion()

    # Fixing random state for reproducibility
    np.random.seed(19680801)

    N = 10
    data = [np.logspace(0, 1, 100) + .2 * np.random.randn(100) + ii for ii in range(N)]
    data = np.array(data).T
    cmap = plt.cm.coolwarm
    rcParams['axes.prop_cycle'] = cycler(color=cmap(np.linspace(0, 1, N)))


    from matplotlib.lines import Line2D
    custom_lines = [Line2D([0], [0], color=cmap(0.), lw=4),
                    Line2D([0], [0], color=cmap(.5), lw=4),
                    Line2D([0], [0], color=cmap(1.), lw=4)]

    fig, ax = plt.subplots(figsize=figsize)
    lines = ax.plot(data)
    ax.legend(custom_lines, ['Cold', 'Medium', 'Hot'])
make_fig(figsize=(10, 5))
Sidebar content
Adding sidebar elements allow you to provide contextual information that doesn’t break up the flow of your main content. It is one of the main patterns recommended in the Tufte style guide.
There are two kinds of sidebars supported in Jupyter Book, which we’ll describe below.
Note
Some Sidebar content behaves differently depending on the screen size. If the screen is narrow enough, the sidebar content will exist in-line with your content. Make the screen wider and it’ll pop out to the right.
Within-content sidebars
To add within-content sidebars, use this syntax:
The sidebar will stay in-line with your page’s content, but will be placed to the right, allowing your content to wrap around it. This prevents the sidebar from breaking up the flow of your content. This is particularly useful if you’ve got tall-and-long blocks of content or images that you would like to provide context to throughout your content.
To add a sidebar to your content, use the following pattern:
```{sidebar} My sidebar title
My sidebar content
```
Margin content
To add margin content with myst markdown, use this syntax:
```{margin} An optional title
My margin content
```
Controlling margin content with code cells uses a slightly different pattern, which we’ll cover below.
Margins with code cells
You can make a code cell move to the right margin by adding margin to your
cell’s tags. Here’s what the cell metadata for a margin cell looks like:
{
    "tags": [
        "margin",
    ]
}
For example, we’ll re-display the figure above, and add a margin tag to the code cell.
make_fig(figsize=(10, 5))

This can be combined with other tags like remove-input to only display the figure.
Scrolling cell outputs
The traditional Jupyter Notebook interface allows you to toggle output scrolling for your cells. This allows you to visualize part of a long output without it taking up the entire page.
You can trigger this behavior in Jupyter Book by adding the following tag to a cell’s metadata:
{
    "tags": [
        "output_scroll",
    ]
}
For example, the following cell has a long output, but will be scrollable in the book.
for ii in range(40):
    print(f"this is output line {ii}")
this is output line 0
this is output line 1
this is output line 2
this is output line 3
this is output line 4
this is output line 5
this is output line 6
this is output line 7
this is output line 8
this is output line 9
this is output line 10
this is output line 11
this is output line 12
this is output line 13
this is output line 14
this is output line 15
this is output line 16
this is output line 17
this is output line 18
this is output line 19
this is output line 20
this is output line 21
this is output line 22
this is output line 23
this is output line 24
this is output line 25
this is output line 26
this is output line 27
this is output line 28
this is output line 29
this is output line 30
this is output line 31
this is output line 32
this is output line 33
this is output line 34
this is output line 35
this is output line 36
this is output line 37
this is output line 38
this is output line 39
Wide-format content
Sometimes, you’d like to use all of the horizontal space available to you. This allows you to highlight particular ideas, visualizations, etc.
In Jupyter Book, you can specify that the outputs of a cell (if it’s a code cell) or the entire cell (if it’s a markdown cell) should take up all of the horizonal space (including the margin to the right) using the following cell metadata tag:
{
    "tags": [
        "full-width",
    ]
}
This works equally well on markdown cells, or with code cells.
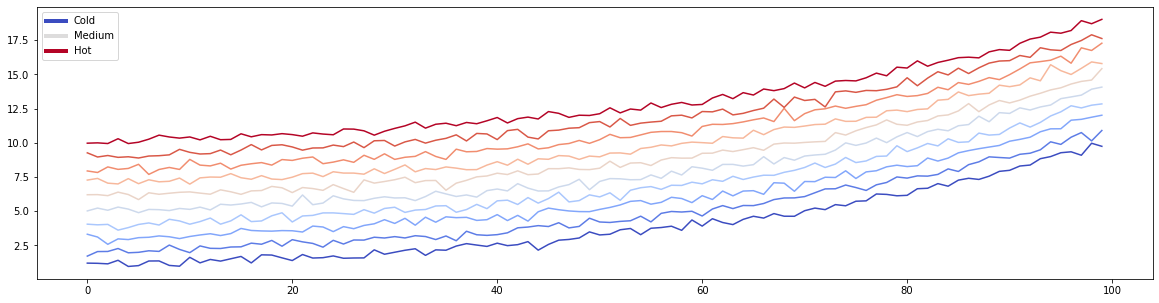
For example, let’s take a look at the figure at full-width. We’ll tell Matplotlib to make it a bit wider so we can take advantage of the extra space!
make_fig(figsize=(20, 5))
This can work with markdown cells as well. For example, we’ll make the following warning block full-width so that it draws more attention:
Be careful about mixing popouts and full-width content.
Sometimes these can conflict with one another in visual space. You should use them relatively sparingly in order for them to have their full effect of highlighting information.